| Home | Forums | What's new | Resources | |
| Saturn 15bpp tool tutorial |
| Malenko - Nov 8, 2024 |
| Malenko | Nov 8, 2024 | ||
| Saturn 15bpp tool (RAW to BMP and BMP to RAW) A lot of graphics on other systems use 16bpp but Saturn is a little special and uses 15bpp. When you open some Saturn tiles in programs like CrystalTile the image is there but it looks a little bit “off” Thats where these tools come in handy, they change the 15 bit tiles into usable bitmaps, then they can convert those bitmaps back into 15-bit data the Saturn can display. Before we get started , let’s make sure we can use the software. After downloading them from: https://github.com/DerekPascarella/Saturn-15bpp-Gr... Extract them to a folder. Now we need to right click the files and go to properties to make sure windows isn’t blocking them 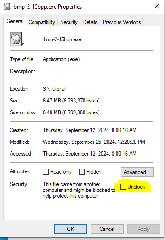 If this is on the screen, check “unblock” then hit OK. Now, find your data. You can use the “Lets replace Saturn Graphics” tutorial to give you the basics; that’s not the point of this tutorial. In the game “Logic Puzzle Rainbow Town” the title screen with the logo and text is located in TITLE2.SBM Opening the file in a hex-editor will show you where all the header data is: 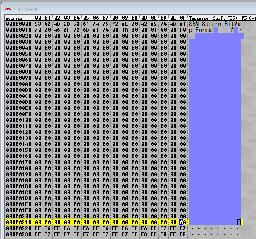 You can see the actual image doesn’t start until 0X0220 For this game all the images are 240 pixels tall but the width value in at 0x01C , in this case its the hex value of 140, which is 320 in decimal We can open the file in Crystal tile, set the dimensions to width = 320 and height to 240 Then we change the offset to 220, which is where the data started. 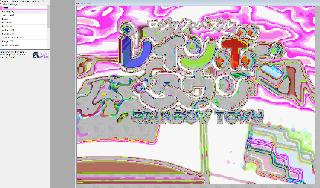 It looks zany and I believe this is a quirk of CT, the fix is easy and just increase the offset by 1 The image should now look like this: 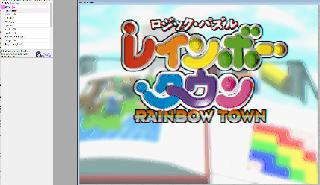 For reference, this is the in game title screen: 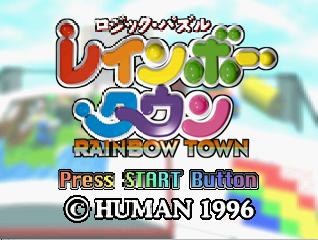 Just at a glance you can see the odd color banding especially on the rainbow and the map. This is an issue with how Crystal tile displays the 15 bit images from Saturn games. That’s part of the reason for this tool, you can't just paste into crystal tile directly, you need these tools to convert the data. The 15bpp tool does a proper conversion of the data into a BMP. You can then edit the bitmap in your editor of choice, then reconvert the BMP back into 15bpp Saturn compliant data. The banding will reappear in crystal tile after the conversion.This is all done so the graphics display properly in game despite how they look in CrystalTile. The first thing we need to do is copy out the RAW image data. We start by opening the file in a hex editor. I will be using wxMEdit, but they all basically function the same. I will then go to position 0x0220 , then copy the data from there till the end of the file.  Then paste into a new file:  This is the exact same data but excludes anything that isnt image data. In this particular case its just stripping out the header, but in other use cases it will basically isolate the image data you need from any other data like headers or other images. I have saved the data as “TitleScreenRAW.bin” For simplicity's sake I am putting the raw data, and the 2 15bpp executables in the same folder:  Next we convert that raw data to a BMP that we can easily edit in a program like Photoshop. Looking at the image in crystal, we can see we need to use the dimensions of 320x240 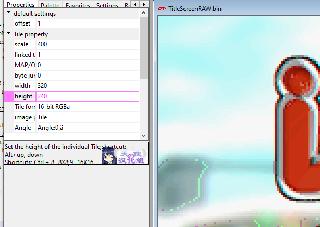 Open a command prompt / powershell and run the following: 15bpp-2-bmp <15BPP_FILE> <WIDTH> <HEIGHT> Or in our case: 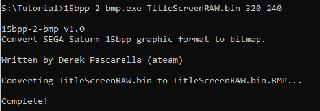 That will output this BMP: 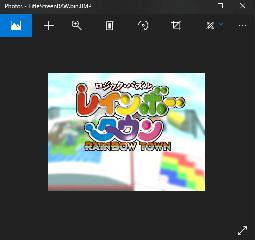 Notice the file name is what we named the raw data with a BMP at the end and that the weird banding is gone. We open that up in our favorite graphics editor, and create the replacement art: 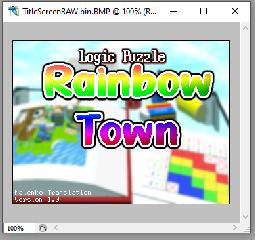 This tutorial does NOT cover how to make art. Sorry, I’m not that good If there is a dialog box about what format to save it into, select 24 bit for windows. 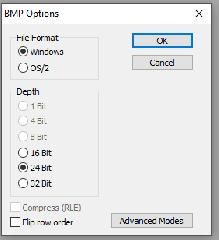 In GIMP, you need to save as a 24-bit BMP with color space enabled Use the other exe to convert the BMP back to RAW 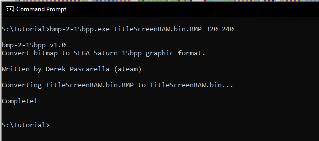 And open that up in CT to check it.  As long as it looks ok, the next step is to copy that raw data in a hex editor…. 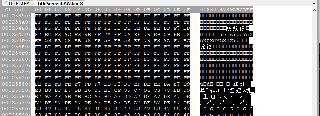 And Paste (with over writing) at 0x220 (because the header goes up to 21F)  After you save the edited file (I save in a folder called edited files, so I don’t lose the originals); you can inject it into the game and give it a test! 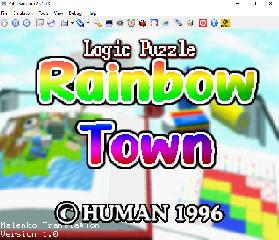 As long as it looks good, you are done. On to the next image! To note, this is a tutorial by an end user of the software not the programmer. Any screen grabs may be of work in progress images (ie that’s probably not the final version of the title screen) use at your own risk, and good luck. Also to note, this tool was used in both Jung Rhythm and Logic Puzzle with no issues, but YMMV. | |||
| derek (ateam) | Nov 8, 2024 | ||
| Thanks so much for posting this tutorial highlighting the usage of my graphics tool! Surely it'll be helpful for others in the future. | |||
| derek (ateam) | Nov 10, 2024 | |||
Ah, very interesting! Thanks for sharing. Guess I went overboard in writing a dedicated tool to do conversion to/from BMP. | ||||
| Malenko | Nov 10, 2024 | ||
| I still found it useful. | |||
| derek (ateam) | Mar 3, 2025 | |||
Right now, the code defaults to magenta (#ff00ff) for transparency. I could add a parameter in the future to let users customize this, though. | ||||
| xhul | Mar 3, 2025 | |||
Oh, i definitely missed that, that's already pretty cool then =] Worth adding into README.md, if you ask me. | ||||
| derek (ateam) | Mar 4, 2025 | |||
Done! Thanks for the suggestion. | ||||